SoAD FAB LAB
Resources for SoAD Students at NYIT to learn and use all digital fabrication tools
PART 2: How to Run a Job on Carvey Using gSender
At this point, students must have the .nc file from Part 1 and their stock material (XPS or HDU foam), cut down (if needed) to a size that will fit in the machine.
IMPORTANT REMINDERS:
-
All first-timers MUST follow the following procedure with a staff member or qualified student worker in order to be trained on the machine. It is the student's responsibility to alert a staff member to obtain this training.
-
For ALL Carvey jobs, it is the student's responsibility to alert a staff member or qualified worker to 1.) double check CAM programming and setup before cutting and 2.) monitor the machine while the job is running.
1. Stock Setup
Stock can be held down with either double-stick tape or reusable, screw-in, hold-down shims which are stored in the Carvey toolkit.
In any case, make sure the bed is clean and that the piece is held down squarely and firmly.
Pictured below: stock (XPS foam), double-stick tape.
Use the grid lines on the bed to ensure that the piece is oriented properly (square) on the machine. (see below)
2. Power on Carvey, Open CNCjs, Connect to Machine
Turn Carvey on (switch in the back near where the power cord comes out), the silver connection button on the lower right corner of the machine should be glowing blue.
Using the Carvey station desktop computer, download then open v1.11.2 of the CNCjs app
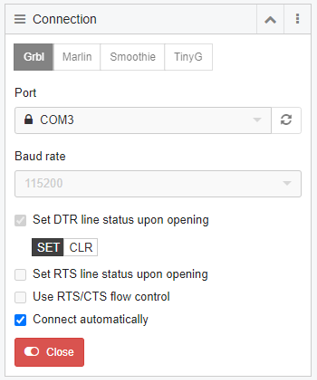
In CNCjs, find the Connection panel on the left side.
Under "Port," click the drop-down box and select COM3 – Manufacturer: FDTI.
- Note: If the port doesn't show up, verify the machine is on and click the refresh button (two arrows in a circle)
Check the box that says " Set DTR line status upon opening"
Click the blue "Open" button below. The Connection panel should now look like this:
3. Unlock Machine
Initially there will be an error code in the upper left of the screen:
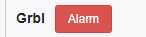
Click the gold unlock button in the upper right corner:

The status should now read "Idle":
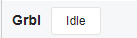
Now that connection has been established and controls are unlocked so that the machine is in idle, you will be able to jog, set zero, navigate to zero, and run jobs.
There is another status code to know when using Carvey, it looks like this:
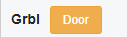
Like it suggests, this means that the door is open or has been opened. Carvey will only move when the door of the machine is fully closed and error codes have been resolved.
To reconnect to CNCjs, make sure the door is fully closed, then press the silver connection button in the lower left corner of the machine and the status should read "Idle" again:
4. Configure CNCjs and Home Machine
In the "Axes" panel on the right side, click the "G21 (mm)" drop down and select "G20 (inch)" to set the program to inches.
Click the blue "Homing" button in the upper right and allow the spindle to move to the lower left hand corner of the spoil board.
When the machine stops moving and homing is finished, the Axes panel on the right side of the screen will look like this:
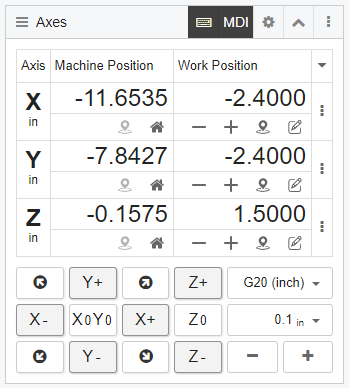
The values in the "Work Position" column may be different than above, but the "Machine Position" values should be the same
You can also select the keyboard icon at the top next to "MDI," which will make it easier to jog the machine with the keyboard arrow keys.
5. Setting X, Y, and Z Zero
Before starting the file, we will manually tell the machine where the material has been placed on the spoilboard. To do this, we will jog (move the bit without cutting material) the tool to corner of the stock (or the corner of the start of the geometry within the stock) and then save this location as zero in the "Work Position" column of CNCjs.
The drop-down bar underneath the units drop-down bar ("G20 (Inch)") determines how far the tool will move with each click. Set this to 0.1 in when moving in the X or Y axis. Set to 0.01 in when moving in the Z axis. You can adjust this value quickly by using the + - keys below.
IMPORTANT: Failing to change this value from the program default or to adjust when moving the bit up and down (Z axis) can cause you to overshoot and crash the machine, something we want to avoid!
Using the computer keyboard (hover over keyboard icon to view shortcuts), and without crashing the tool into the material, spoilboard, or sides (limits) of the machine itself, navigate the tool to where you want the origin of your part to start.
Remember: this is where the WORK ZERO coordinates system was placed in Step 3 of Part 1 (Southwest, Highest Z).
The red rectangle indicates where our part will fit within our (intentionally slightly oversized) stock material.
In this example, we are not zeroing the tool at the exact corner of the foam because we are planning to trim out the object on the band saw later to give it cleaner edges.
Always double check your stock and object measurements in Rhino to ensure that the origin is situated appropriately, so your object fits within your stock on all sides.
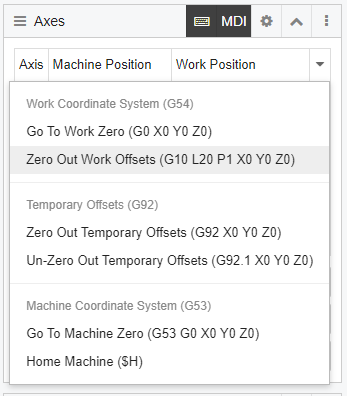
When you are satisfied with the location of your tool over the part origin, click the drop-down arrow next to "Work Position" and click "Zero Out Work Offsets (G10 L20 P1 X0 Y0 Z0)"
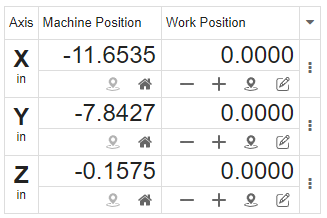
The values in the Work Position column should now read 0, 0, 0:
6. Load File
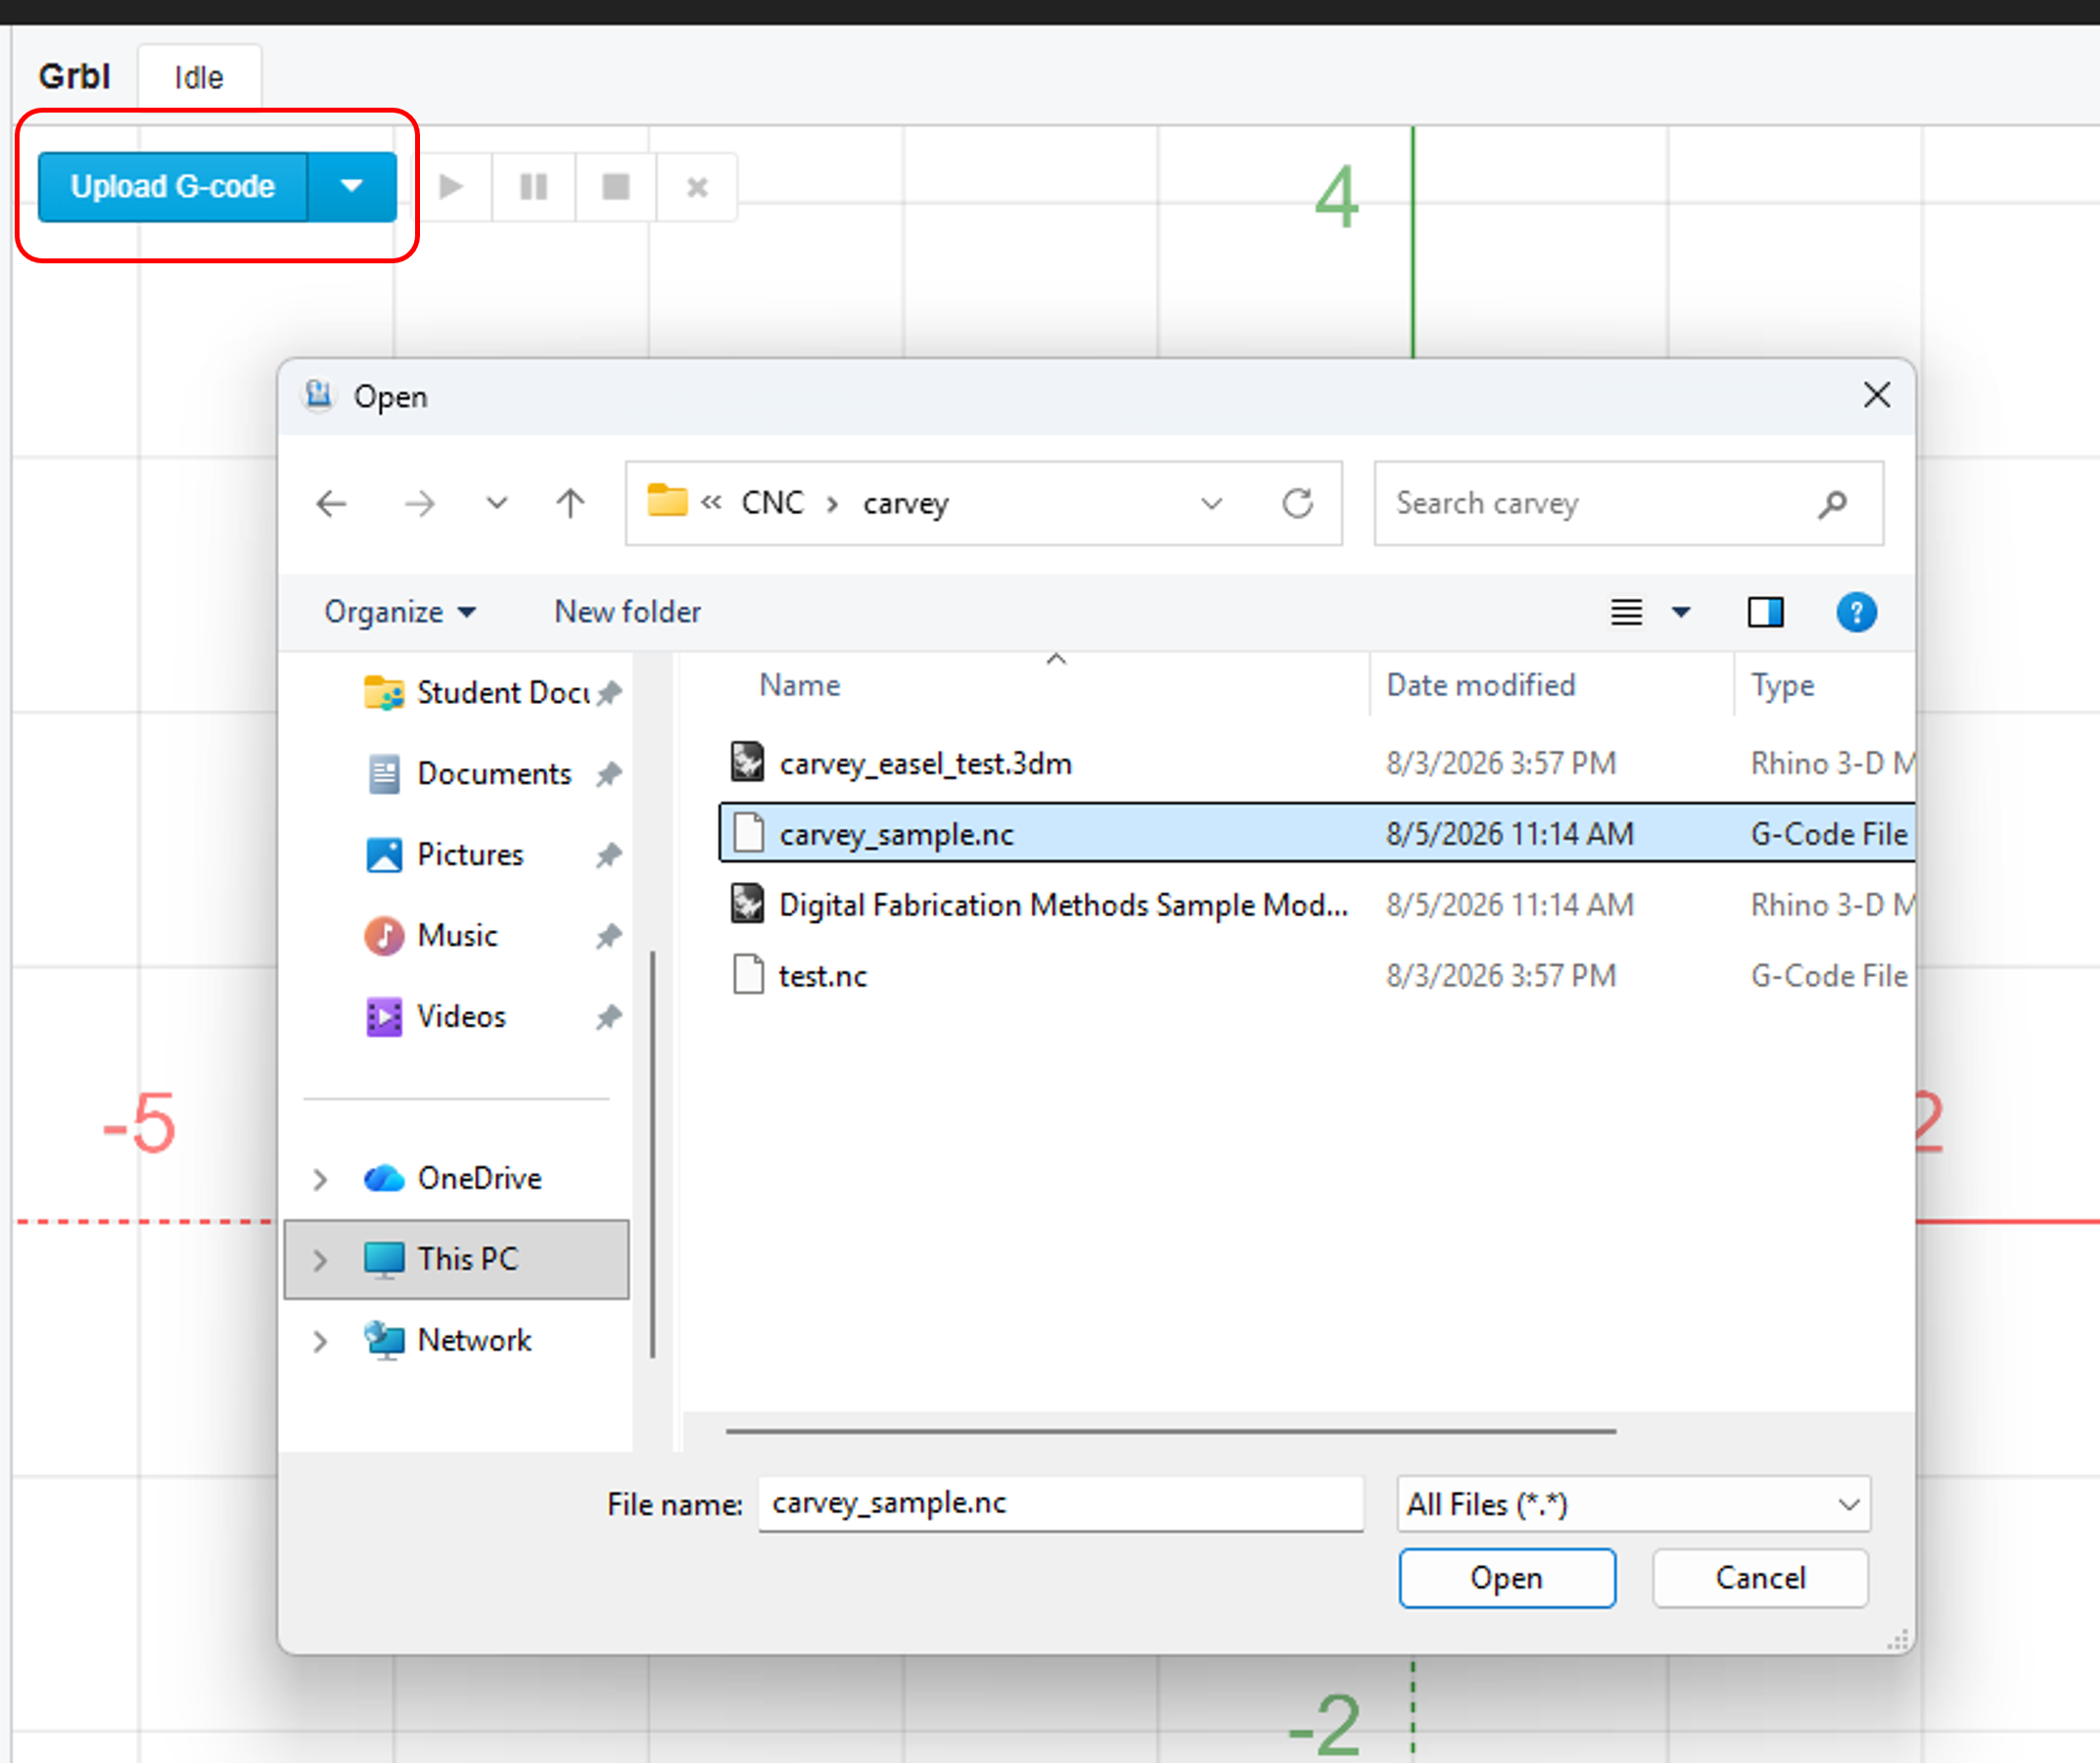
Click the blue "Upload G-code" button at the upper left corner of the window and select the gcode (.nc file) you posted from FreeMILL
7. Start Job
Use the icons in the lower left of the 3D preview window to change your view of the toolpaths:
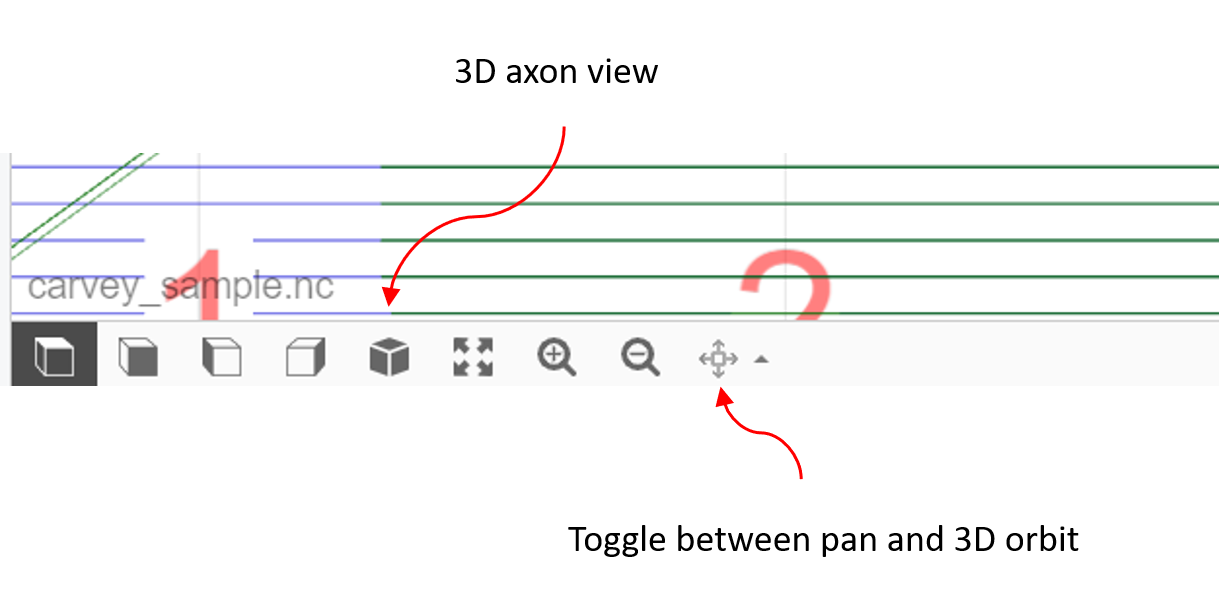
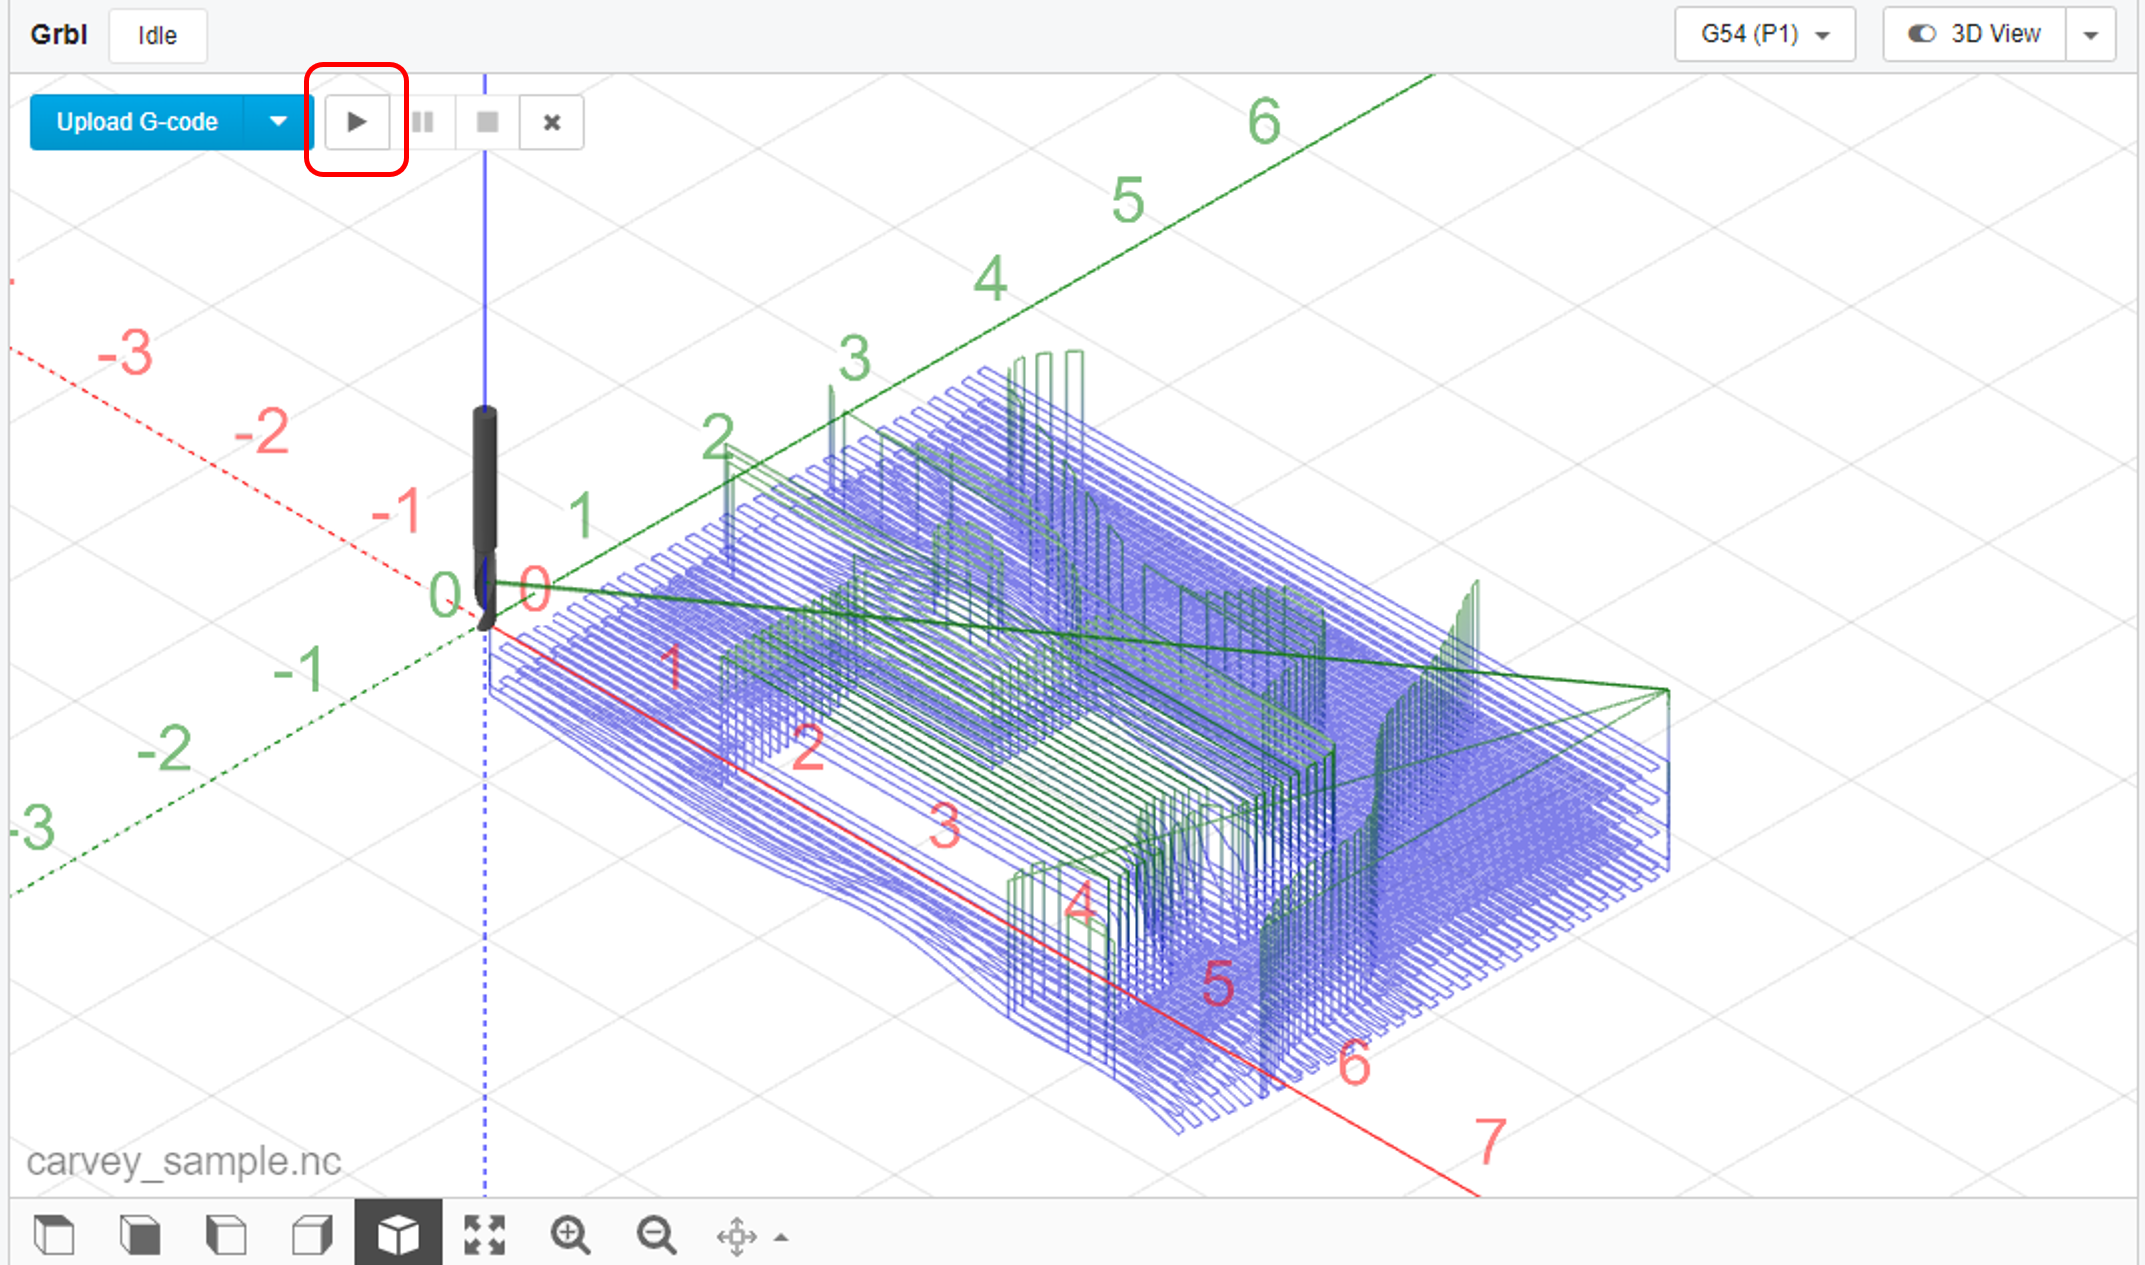
Double check that the toolpaths that appear in CNCjs's 3D preview window look like the toolpaths that were generated in FreeMILL and that they start at X, Y, Z zero.
Then click play!
8. Running
Congrats! You're now cutting with Carvey Mini CNC!
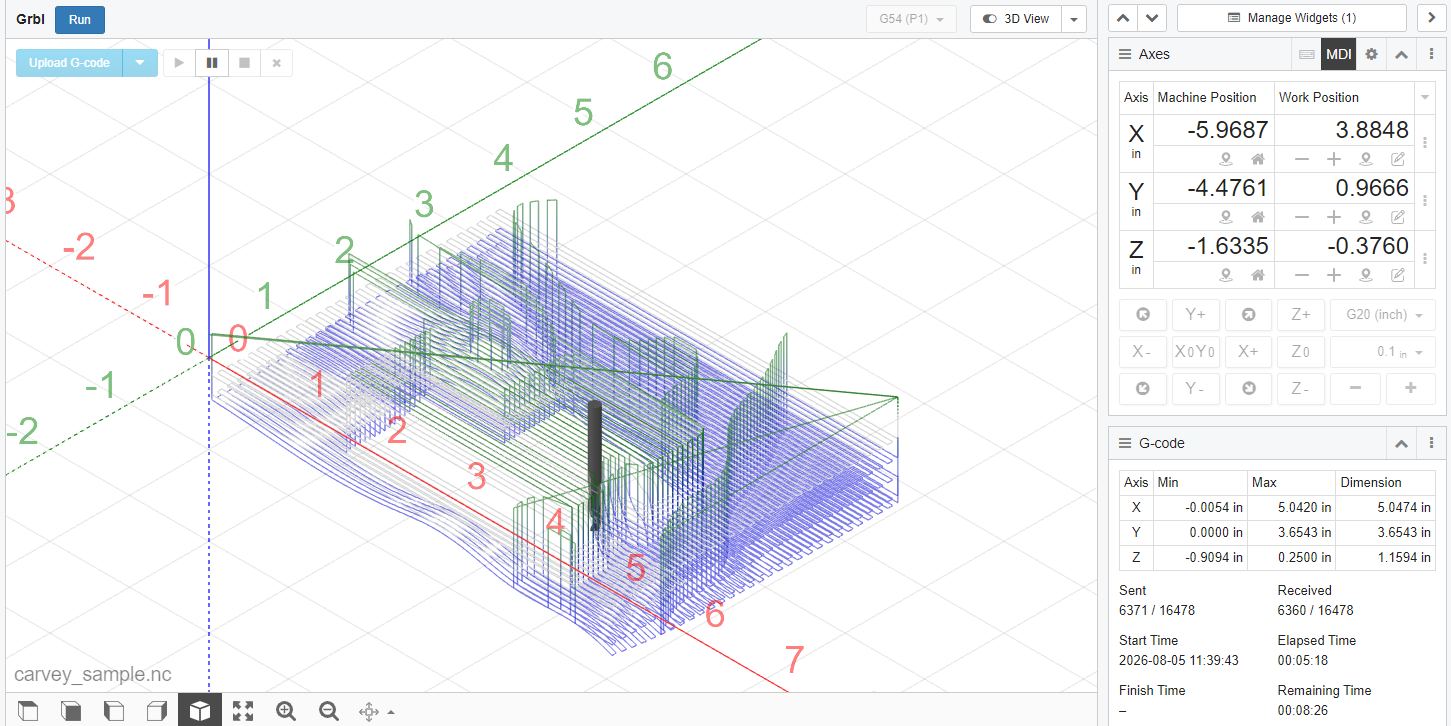
This is what CNCjs will look like while you are cutting, the status code will say "Run":
NEVER open the door while the machine is running: 1.) It could be dangerous and 2.) You will lose progress in your cut and have to start over. Instead press pause if you see an issue and alert a staff member for help.
For safety reasons, students must stay with the machine the entire time the job is running. If there is a problem or emergency, press pause first, then alert a staff member
9. File Complete
When your file is finished cutting, the tool will move back to the origin you set, bit will stop spinning and the status in the upper left will return to "Idle."
This means it's now safe to open the door and retrieve your part.
Don't forget to clean up the interior of the machine using one of the shop vacuums and put away all tools when finished.
10. Finishing/Trimming Your Model
Here is what the part will look like when it comes off the mill:
You can trim the edges using the band saw in the shop:
...to release the finished product from the original stock foam:
We hope you found this guide helpful and Happy Carving!